
StudiosPDQ Instant Home Systems are very easy to assemble right out of the box.
Our how-to videos will demonstrate how this unique home studio system assembles in minutes; well, pretty darned quick to be sure.
Just click on the how-to links to view the video tutorials. The videos will walk you through setting up the system right out of the box, adjusting the height and affixing the buckle straps.
** All of the FULL stand-alone systems come with the “feet” with the white endcaps already assembled!
Looking for instructions to disassemble your Instant Studio? Click Here
The StudiosPDQ Instant Home Studios System was created to make you look terrific while on video calls and to do that in minutes, or, as we say, pretty darn quick.
Just as important as it is to have the ability to set up a virtual home studio quickly and efficiently, it is just as critical that the System will not take up much space when not in use. Not everyone has an unlimited domestic footprint to leave his or her virtual studio System standing or wall mounted at all times; the storage box was designed with that in mind.
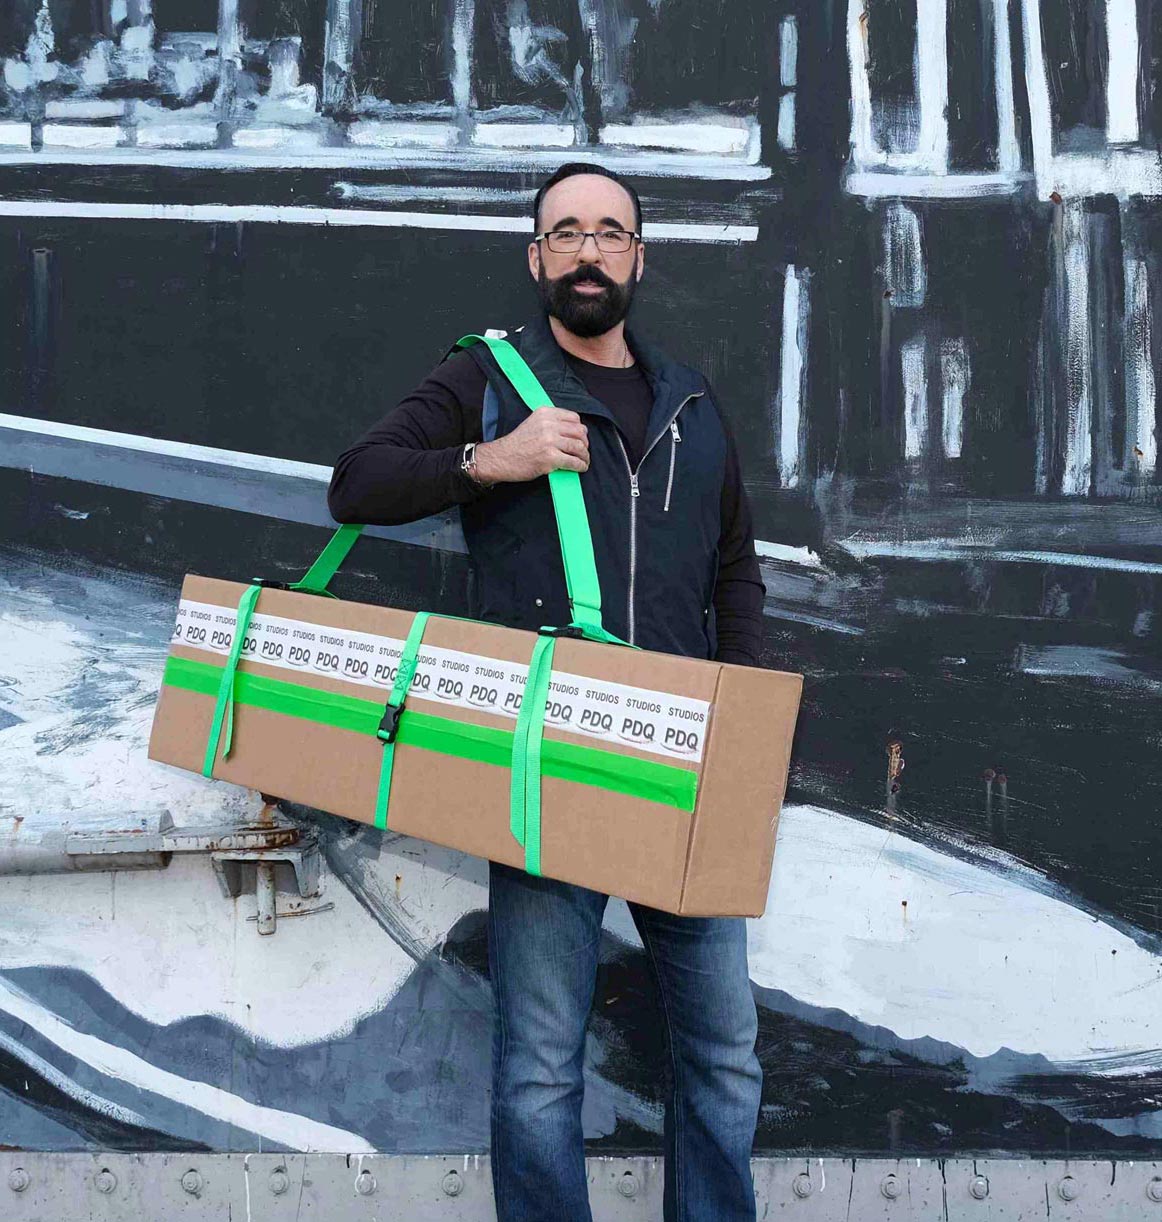
The heavy-duty cardboard box measures 4’ L x 12” W and 6” H; you can factor in an additional ½” for the box height due to the nylon straps and plastic buckles. There is one (1) Carry Strap with two (2) nylon straps for fastening and one (1) separate nylon strap to ensure that the center of the box flaps are secure.
The nylon straps are all adjustable and can be loosened and tightened to help fasten the snaps as well as to find the desired length of the strap that will go over your shoulder when transporting.
The low-profile of the 6” cardboard box height allows it to easily slip under most platform beds, futons and modern sofas with ease.
We suggest that when carrying the System that the long carry straps is positioned along the 6” spine of the box; you will want to ensure that the plastic buckles are positioned and fastened directly along the spine for ease of carrying. You will also want to ensure that the separate nylon strap is fastened in the center of the box to keep the cardboard flaps secure. This will also help to center the gravity of the storage box when transporting the System.
Looking for instructions to disassemble your Instant Studio? Click Here